Building a wooden drawer pull is a rewarding woodworking project that adds a personal touch to your furniture. Here’s a step-by-step guide to creating a custom wooden drawer pull:
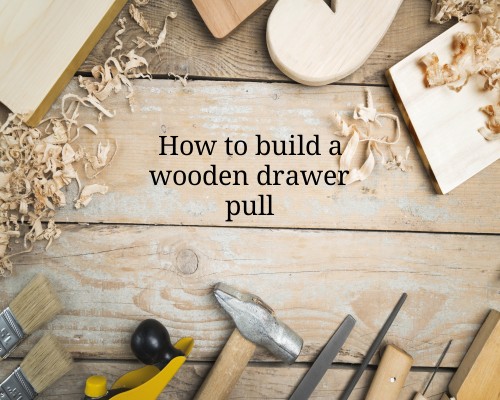
Materials and Tools Needed:
- Hardwood (e.g., oak, maple, or walnut) – choose a wood that matches your furniture or design
- Saw (table saw or hand saw)
- Ruler or tape measure
- Pencil for marking
- Drill with a wood bit
- Sandpaper (various grits)
- Wood glue (optional)
- Wood finish (oil, varnish, or polyurethane)
- Clamps (if using glue)
- Wood screws (optional, depending on your design)
Step 1: Measure and Design
Before you begin cutting, measure the dimensions of the drawer face and decide the size of your pull. The pull should be comfortable to use, so plan the length and width accordingly. Typically, drawer pulls are about 4 to 6 inches long, but adjust this depending on your preference and the size of the drawer.
Step 2: Cut the Wood
Using your measurements, cut your chosen wood into the desired dimensions for the pull. You can use a table saw, miter saw, or even a hand saw. The shape can be as simple as a rectangular block or as intricate as a rounded or shaped design, depending on your skills and tools.
Step 3: Shape the Pull (Optional)
If you prefer a more custom look, you can shape the drawer pull using a router or by hand. Sand the edges to create rounded or beveled edges. A little creativity can go a long way in making the pull unique.
Step 4: Drill Holes for Mounting
Once your pull is shaped and smoothed, mark where the holes for the screws will go. Ensure the holes are spaced evenly and positioned correctly for the drawer you plan to attach it to. Use a drill bit slightly smaller than the diameter of the screws you plan to use.
Step 5: Sand the Pull
Smooth the pull using sandpaper, starting with a rough grit (e.g., 80-grit) and gradually working your way to finer grits (up to 220-grit or higher). This will remove any rough edges, marks, and imperfections. Make sure to sand all the surfaces of the pull.
Step 6: Finish the Pull
After sanding, it’s time to apply a wood finish. You can use oil, wax, polyurethane, or varnish depending on the look and protection you want. Apply the finish evenly with a brush or cloth and allow it to dry completely.
Step 7: Attach the Pull to the Drawer
Once the finish has dried, align the pull with the holes on the drawer and attach it using screws. If your pull is a solid piece of wood, you may want to use wood glue to secure it, and then drill the holes for screws through both the drawer and the pull.
If you want a more robust attachment, you can also drill deeper holes for the screws, securing the pull with nuts or using screws with a wider diameter.
Step 8: Final Touches
After the pull is attached, check the alignment and ensure everything is secure. You may want to give the pull a final sanding to smooth out any edges or imperfections after installation.
Conclusion
That’s it! You’ve now created a beautiful and functional wooden drawer pull that can be customized to suit any piece of furniture. Experiment with different wood types, finishes, and shapes to create pulls that perfectly match your style.
For more woodworking tips and projects, you can learn from detailed plans and guides by Ted’s Woodworking Course here.