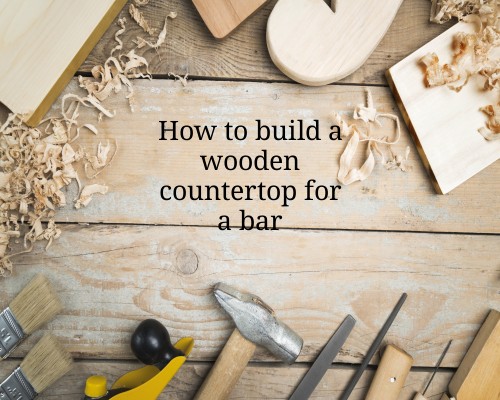
Building a wooden countertop for a bar can be a rewarding and practical project. Here’s a detailed guide to help you through the process:
Materials Needed:
- Wood (hardwoods like oak, maple, or walnut are excellent choices for durability and aesthetics)
- Wood glue
- Clamps
- Circular saw or table saw
- Jigsaw
- Router
- Wood filler
- Sandpaper (various grits, from coarse to fine)
- Wood finish (stain or clear varnish)
- Measuring tape
- Pencil
- Drill with screws
- Screwdriver
- Level
- Safety gear (goggles, ear protection, dust mask)
Step-by-Step Process:
1. Choose and Prepare the Wood:
- Select the Right Wood: Hardwood, such as oak, maple, or walnut, is ideal because it is sturdy and has an appealing appearance. Measure your bar area to determine how much wood you need.
- Cut the Wood to Size: Using a circular or table saw, cut the pieces of wood according to the size of your bar top. For a traditional look, you can use a series of smaller planks to create a butcher block-style countertop, or you can opt for a single large slab for a more modern look.
2. Arrange the Wood Pieces:
- Lay out your pieces to form the countertop. Arrange the pieces in a pattern that you find visually appealing (e.g., side by side or end-to-end).
- Consider the Grain: When placing the planks, keep the grain patterns in mind. You may want to alternate the grain direction for a more interesting design.
3. Glue the Wood Together:
- Apply a generous amount of wood glue along the edges of each plank. Use a spreader or brush to distribute the glue evenly.
- Press the planks together and ensure they are flush. Clamp them tightly to prevent gaps and ensure a strong bond. Let the glue dry according to the manufacturer’s instructions (usually 24 hours).
4. Trim and Shape the Edges:
- Once the glue has dried, use a table saw or circular saw to trim any uneven edges.
- If you want rounded edges, use a router with a round-over bit to give the countertop a smooth, polished look.
5. Sand the Surface:
- Start with coarse-grit sandpaper (around 80 grit) and sand the entire surface of the countertop. This step will remove any rough spots, glue residue, and unevenness.
- Progress to finer grits (120, 150, and 220) for a smoother finish.
- Pay special attention to the edges to ensure they are rounded and smooth.
6. Fill Any Gaps or Imperfections:
- If there are any gaps between the boards or imperfections in the wood, use wood filler to fill them in. Once dry, sand the filled areas smooth.
7. Apply a Finish:
- After sanding, apply a wood finish to protect your countertop. You can choose between staining the wood for color or using a clear finish like polyurethane or lacquer for a natural look.
- Apply the finish with a brush or cloth, following the manufacturer’s instructions. Allow it to dry completely between coats.
- For added durability, apply 2-3 coats of finish.
8. Install the Countertop:
- Place the finished countertop onto the bar frame and check for fit.
- Use a drill to attach the countertop securely, ensuring it’s level and stable. You can screw it into the supporting structure of the bar or use brackets underneath for additional support.
9. Final Touches:
- Once the countertop is installed, give it a final sanding and touch-up to remove any imperfections from the installation process.
- Ensure the countertop is sealed well, especially if it’s in a high-moisture area, to prevent warping or damage.
Additional Tips:
- Butcher Block Design: If you want a butcher block style, make sure the grain runs perpendicular to the surface. This design is not only aesthetically pleasing but also very durable.
- Edge Design: You can create decorative edges by using specialized router bits. Popular choices include bullnose or ogee edges.
- Maintenance: Wooden countertops require regular maintenance. Apply mineral oil or another food-safe oil monthly to keep the wood from drying out and to maintain its shine.
By following these steps, you’ll have a beautiful and functional wooden countertop for your bar that can last for years. Enjoy your project!
For those interested in enhancing their woodworking skills, check out Ted’s Woodworking Course here: https://5ec0fkma1rtoqesrt51ay-tfcv.hop.clickbank.net
Share this Page your favorite way: Click any app below to share.